How to Fix Automatic Repair Loop in Windows 10 – With improved security, enhanced usability, and a user-friendly interface; Windows 10 has become a prime consideration for people for their Computers and Laptops. It offers enriched versions of the features that people love in an easily operated format. When Windows 10 tries to boot but fails, it forcibly initializes the automatic repair tool and attempts to fix itself. This issue is addressed as an Automatic Repair Loop. If you are also facing this issue and want to know How to Fix Automatic Repair Loop in Windows 10, then follow the simplest yet effective steps discussed below.
There are various reasons why the Automatic Repair Tool gets stuck in the bothersome Automatic Repair Loop. Missing or Corrupted System Files, unsuitable hard drives, Windows Registry issues, file corruption in Windows Boot Manager, or a wrong Windows update are some of the reasons that may be the reason for this error in your device. But, this issue can be fixed with certain methods. If you want to know How to Fix Automatic Repair Loop in Windows 10, then continue reading this write-up brought up by Tech Support Expert.
Tech Support Expert has leveraged its extensive experience in providing cost-effective and valuable tech-related solutions. Our highly practiced team of technicians works round-the-clock to make sure all our customers are getting genuine technical help as rapidly as possible. You can look upon us for any of your queries related to your gadgets. Get in touch with us at 800-742-9005 or write to us at support@techsupportexpert.com for immediate tech support by seasoned experts.
How to Fix Automatic Repair Loop in Windows 10
There are multiple methods to fix automatic repair loop errors on Windows, depending on whether you have a black screen or blue screen error message. Down below, we have discussed How to Fix Automatic Repair Loop in Windows 10 for both Black and Blue Screen. Thus, ensure to understand all the methods and follow the steps correctly, without skipping anything.
Methods to Fix Automatic Repair Loop Error on Blue Screen
If you want to know How to Fix Automatic Repair Loop in Windows 10 on Blue Screen, perform the methods mentioned below to fix it:
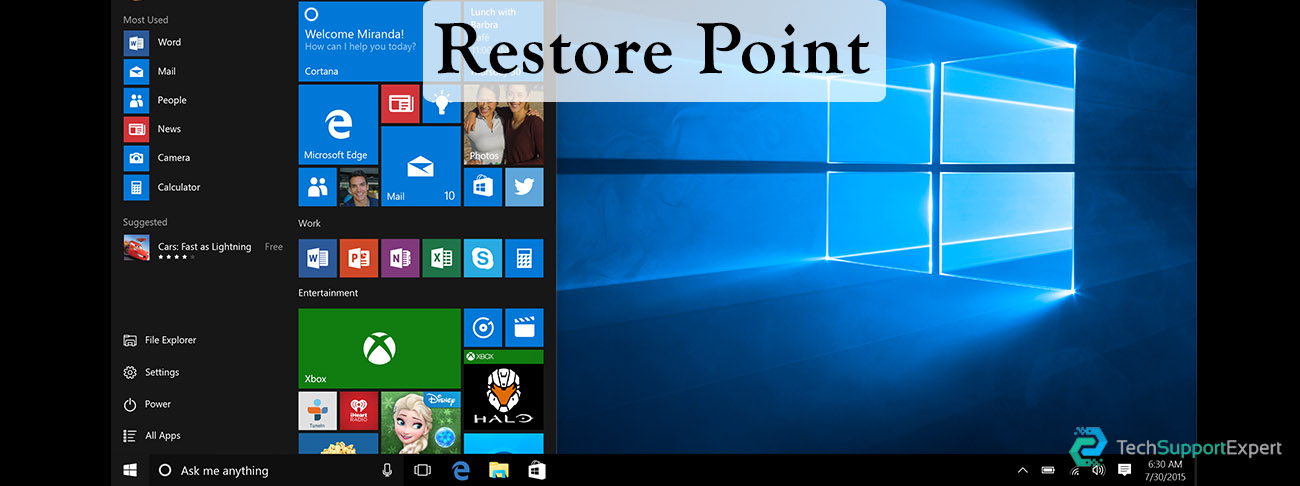
Method 1: Undo/Reverse Changes with System Restore
- At first, click on “Advanced Options” on the Automatic Repair Blue Screen.
- Now, move to “Troubleshoot” followed by “Advanced Options” and Select the option “System Restore”.
- Select the Restore Point that was generated exactly before the Blue Screen appeared and Click the “Next” Button.
Restart your device after the process of system restoration is completed.
Method 2: Use Repair Tools of Built-In System
- Restart your computer and press the key “F8” which will trigger the Windows Troubleshooting Menu.
- Choose “See Advanced Repair Options”.
- Click on “Troubleshoot” in the “Choose an Option” Menu.
- Next, choose “Advanced Options” in the Troubleshoot Menu.
- Further in “Advanced Options”, select “Command Prompt”.
- Type “chkdsk /r c:” in the Command Prompt Window and press the “Enter” Key. This command will scan your drive for errors using the CHKDSK utility and if possible, it will automatically fix or repair them.
- Following that, Type “sfc /scannow” and press “Enter”. (this will examine the probity of Windows System Files with the System File Checker Tool)
- Enter “Exit” and close the Command Prompt.
- At last, restart your PC.
Methods to Fix Automatic Repair Loop Error on Black Screen
If you want to know How to Fix Automatic Repair Loop in Windows 10 on Black Screen, perform the methods mentioned below to fix it:
Method 1: Restart the Safe Mode
- Switch off your computer.
- Download and install Windows Installation Media and reboot your computer.
- After rebooting, press “F2”, “F11”, or “Delete” to enter BIOS (Basic Input/Output System).
- Reboot using “Windows Installation Media”.
- Click on “Next” from the Windows Setup Window.
- Move to “Repair your Computer”, then to Troubleshoot followed by “Advanced Options” and then “Startup Settings”.
- Choose the Safe Mode from the options available that meet your needs the best. (Enable Safe Mode, Enable Safe Mode with Networking, and Enable Safe Mode with Command Prompt).
Method 2: Disable Automatic Repair
- Install a Windows Installation Disc/Media into your computer.
- Choose your language preferences and click on “Next”.
- Click on “Repair your Computer”, then “Troubleshoot”, then “Advanced Options” and lastly “Command Prompt”.
- In the Command Prompt Window, type “bcdedit /set {current} recoveryenabled No” and press “Enter” to continue. This command will delete troubling system files.
- Type “Exit” and hit “Enter”.
So, this was all about How to Fix Automatic Repair Loop in Windows 10. We hope you are now completely aware of how you can accomplish this task without any inconvenience or unwanted difficulties. However, if you still feel the need for support while performing this task or if you face any other tech-related issues, then you can make a contact with us at 800-742-9005 or drop an email at support@techsupportexpert.com.