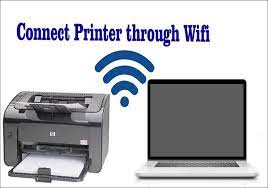
How to Make a Printer Available on a Wi-Fi Network- Think how easy it will be if you set up your printer to connect it to Wi-Fi. This will make it available on every other device you use especially tablets, phones, etc. A setup will make the printing task easy with the connection of cables. With the wireless printer’s connectivity, the function can be performed from any place unless the loss in the connectivity of Wi-Fi is noticed.
If you are searching for How to Make a Printer Available on a Wi-Fi Network, let us help you. We are Teach Support Expert, a professional in the information technology sector. Renowned with our expertise, we ensure to offer a convenient solution. Nowadays tech frustrations have increased among people. Each day, we are introduced to the newest problems with our devices. Some cause overheating while other needs a troubleshooting process to start properly. The issue of Wi-Fi connectivity is the most common among all.
 In this blog, we will help you with How to Make a Printer Available on a Wi-Fi Network. The connectivity steps can be performed in each type of printer such as Cannon, Epson, and HP. Follow the steps carefully and you may get the results without the help of any personal expert advice. Indeed it is a cost-saving process.
How to Make a Printer Available on a Wi-Fi Network
Below are the appropriate steps that mention the printer’s connectivity with your computer. Follow these carefully for the best results.
Check the Printer’s Setup on a Window’s Computer
This is the first step of How to Make a Printer Available on a Wi-Fi Network. If there is a Windows failure or a bug presence in Windows, it is significant that the connection between the printer and the computer is lost. Understand that for connecting a printer with Wi-Fi a setup between a computer and the printer has to be secured. Below are the steps to check your printer’s connection with your computer.
Start >Settings > Devices > Printers & scanners
- You may find your printer in the list but if it is not there, choose to Add printer and scanner.
- A search of the nearest printer will start, look for your device and click on it to add it one the application.
- This will connect your printer to the required computer enabling the Wi-Fi connection settings.
Connecting Printer with a Wireless Setup
Now the second step for How to Make a Printer Available on a Wi-Fi Network is to connect the printer with a wireless setup.
Connecting HP printer
- Check that the printer is on and it is near to the Wi-Fi.
The next step involves selecting a Setup followed by printer and network settings. - Click on Wireless Setup Wizards.
- Choose the networks you want to activate with and select it.
Connecting Epson Printer with Wi-Fi
The primary step for How to Make a Printer Available on a Wi-Fi Network in the Epson Printer is to check the connectivity of the printer and the computer. Also, identify that the network is available nearby.
- Go to Control Panel, and click on Home button.
- Select the available Wi-Fi setup and press confirm.
- Move further and press OK until the Wi-Fi Setup Wizard appears.
- Now select the Wi-Fi finalize with a password and press OK.
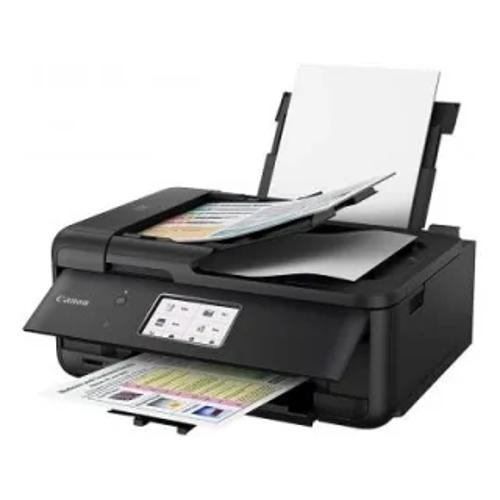
Connecting Canon Printer with a Wi-Fi
To successfully get the results of How to Make a Printer Available on a Wi-Fi Network, mandatorily check the connectivity of the printer with Wi-Fi.
- Press the Home button and then select Wi-Fi settings.
- Click on LAN Wireless setup followed by OK.
- Choose the Wifi and enter the password.
- Now the printer is connected to Wi-Fi.
Connecting Printer with WPS
The steps mentioned below offered the selective approach of connecting a Wi-Fi with a printer in the wireless mode, but it can also be done using a Wi-Fi Protected Setup also called WPS. This is again a necessary step for How to Make a Printer Available on a Wi-Fi Network if you are choosing the WPS method.
For HP Printer
- Range the printer within the WPS connectivity.
- Now enable the printer in the WPS mode.
- Click on the wireless button of the printer for nearly 5 seconds.
HP Printer comes in 2 models, the connectivity procedure is described below.
For the DeskJet 6000/6400 and Envy 6000/6400 models, click on the Wi-Fi button and Power button. until the printer’s flash disappears. Woure Wi-Fi is set up now.
For Epson Printer
- Click on the WPS button.
- Press the home button and then select the Wi-Fi option.
- Now select the Pushup button and then confirm.
For Cannon Printer
- On the touchscreen, click on the WLAN button and then press start.
- Press the WPS button on the router and then click OK.
- When “Connected to the access point” press OK.
- Your device is now connected to the Wi-Fi.
Contact Teach Support Expert
To Know more about How to Make a Printer Available on a Wi-Fi Network, contact us.
Call- 800-742-9005
Email- support@techsupportexpert.com