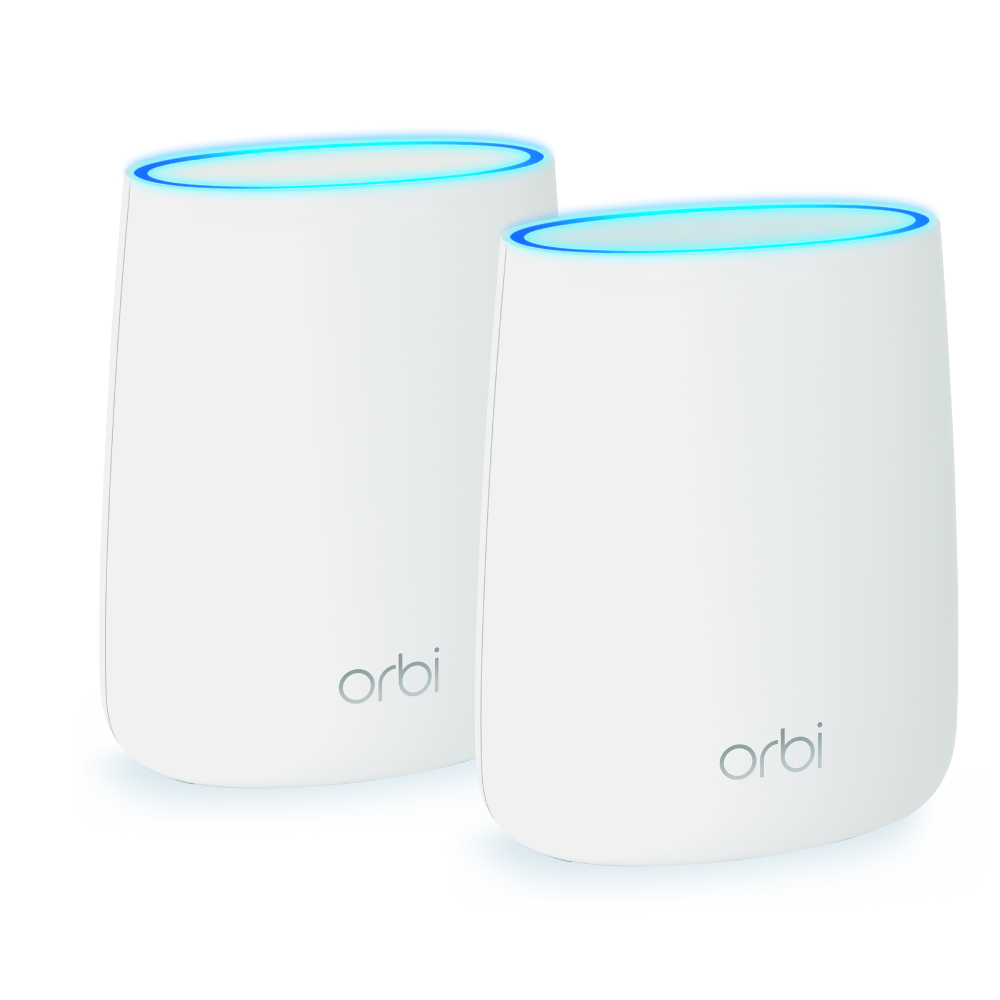
How to Perform Netgear Orbi Setup with Existing Router? – Your home will be completely covered by fast-streaming Wifi with the NETGEAR Orbi Wifi system, and it comes with quite a few devices to make sure this claim. Although Netgear Orbi WiFi systems may come with their own routers, you may be wondering if it can connect to your current network., then the answer is yes. In this blog, we’ve have outlined the methods on How to Perform Netgear Orbi Setup with Existing Router. So, what else are you waiting for? Read on.
In order for an Netgear Orbi WiFi to function, it must be connected to either your current router or a modem. The new router or routers that come with the system will connect to the network or modem you currently have set up, but if you are doing so using WiFi, you will first need to turn off WiFi on the router in question. In short, Netgear Orbi can be used with a modem or an existing router. You must connect the two devices, sign in to Orbi, and configure the AP mode in order to connect your router to Netgear Orbi. There is a lot to talk about because you’ll need to find certain IP addresses.
This could seem a little perplexing if technology isn’t your career or even your strongest suit. But don’t worry, we’ll explain in detail How to Perform Netgear Orbi Setup with Existing Router, and how it will interact with the wireless router you already have.
 Procedure to Perform Netgear Orbi Setup with Existing Router

Now that we are aware that Netgear Orbi can be setup with an existing router, it is time to understand how to configure it. You can utilise Orbi’s WiFi rather than your router’s by following the instructions below on how to set up your router as an access point. After that, follow these simple instructions to quickly connect your Netgear Orbi to your router:
Step 1: Setup the two devices
The first step by default is to get both of your devices ready. Your Orbi satellite and router must be connected to a dependable power source and turned ON.
Tip: Removing any potential problems that may have emerged by power cycling the devices can help the procedure go more smoothly. You must unhook the power adapters from both devices, wait a few minutes, and then plug the cords back in to perform a power cycle. Move on to the following stage when you are finished with the preparation.
Steps 2: Connect both devices
The next step is to link the two devices using a cable connection after you have confirmed that they are both fully charged and prepared to use. You will need an Ethernet wire for this, so grab one.
To connect the Ethernet cables on both devices, follow these instructions:
1. Set the gadgets far enough apart from one another.
2. Use the LAN port on the back of the device to connect the Ethernet wire to an existing router or gateway.
3. Connect the cable’s opposite end to your Orbi satellite device’s Ethernet port.
When you’re prepared, make sure the Ethernet cable is firmly plugged into both ends and the port’s end switch is turned on. Additionally, check the tiny LED on the port to see if the cable is operational. The cable is functional if the LED is blinking.
Step 3: Log in to Orbi
It’s time to log into Orbi and configure the software now that both of your devices are connected.
Follow the instructions below because as we try to made it as easy as possible:
1.Visit orbilogin.com first.
2. Click the login link on the home page and wait for the login screen to appear.
3. Click the username area on the login screen and enter “admin.”
4. When prompted for a password, enter the one you made during setup (by default it is either admin or password).
5. Select Login, then wait.
You must enter the proper information for your username and password, then click the login button and wait for Orbi to correctly log you in. Your automatically generated account, which has all the software settings you will require for the following step, will be provided to you.
Step 4: Configure AP Mode
You’re going to discover how to connect Orbi to a router now that you’ve successfully signed into the Orbi management panel. In this phase, we’ll talk about how to activate and configure the AP mode, also known as the access point mode. By imitating the router’s features, your Orbi satellite device will be able to send Wi-Fi signals directly.
To quickly configure the AP mode in the Orbi settings, follow these steps:
1. Visit the BASIC home page that was listed during Orbi enrollment.
2. Select Advanced setup by clicking the Advanced icon.
3. Select Router from the advanced settings menu, then look for the AP mode button.
4. To change the frequency, click the radio button for AP mode.
5. Decide on an IP address.
You will get two options for IP addressing; the first will be produced dynamically from the current router, and the second will use a fixed IP address, which is not usually advised by users. The main distinction is that a router’s IP will modify other networked routers’ IP addresses.
As a result, your Orbi will have access to all of your home’s routers, as opposed to the second option, which uses a fixed router’s IP.
Note: Orbi’s IP frequency cannot be changed when the access point mode is active. You will need to switch off the AP, set up the new IP, and then turn it back on again.
Bottom Line
You can now configure Netgear Orbi with Existing Route by following our simple instructions. We hope that this blog answers your query, “How to Perform Netgear Orbi Setup with Existing Router?” You can always get in touch with Tech Support Experts for extra help with the issue if something doesn’t work out in the end. If this post was useful but you still need help finding a solution to a different issue, email us at support@techsupportexpert.com or call 800-742-9005. We really hope you enjoy browsing our website and discover all there is to know about How to Perform Netgear Orbi Setup with Existing Router?.