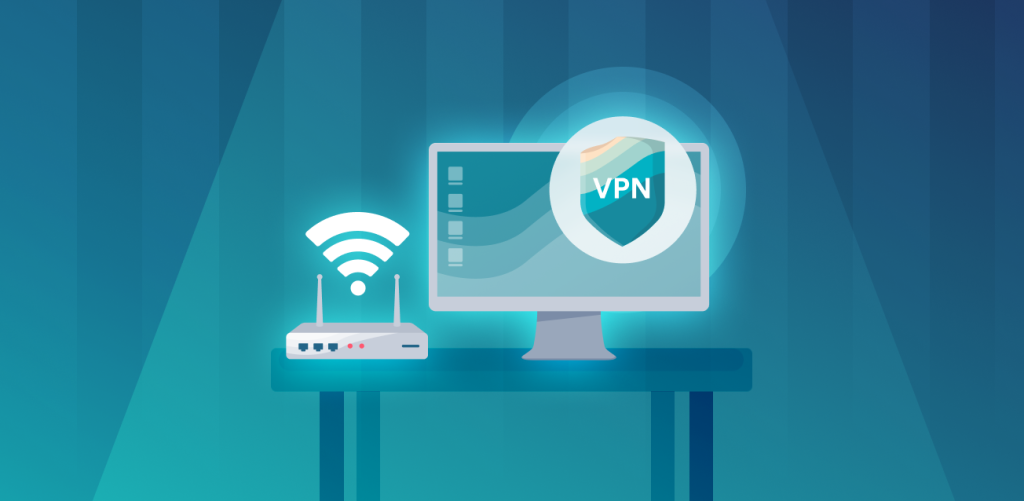
How to Install a VPN on Your Router – Protecting your network and data from breaches might be at the top of your priority. What you have done about the security of your network? “A VPN on the smartphone and laptop” is this your answer? Well done, but what about the other devices that come across your network? You can ensure complete security of the network by installing a VPN on your router. Do you know How to Install a VPN on Your Router?
Don’t fret if your answer is NO. If you want all the methods of installing a VPN on your router in one place, Tech Support Expert has got you covered. The installation of the VPN on the router takes a little time. However, it’s worth it. Once you have done it, don’t worry about any breaches, intrusions, or other threats. Aside, a reliable VPN offers many other benefits, including time-saving, ultimate protection, and many more. This article illustrates How to Install a VPN on Your Router. Keep reading.
Folk facing any issue can find solutions by connecting with Tech Support Experts at 800-742-9005 or through email at support@techsupportexpert.com.
6 Advantages of a VPN on Your Router
Before you dig deep into the process of installing a VPN on your router, let’s get familiar with the benefits you are going to get. Installing a VPN on your router pays off. It offers numerous benefits but first, you need to know whether your router has this feature or not. If it does, be happy can have VPN protection. Enjoy all the advantages of a VPN on your router, including:-
- Protect devices with no VPN support
- Protection of many devices as you want
- Saves time and money
- Never forget to connect
- Use split tunneling
- Access your network from anywhere
The above-listed are a few advantages of a VPN on your router. If you want to enjoy them all, install a VPN right on your router. The process is quite simple and mentioned ahead. read on.
How to Install a VPN on Your Router
Once you get familiar with the benefits of installing a VPN on your router, you might want a router VPN. If you are eager to protect all the devices through a VPN (a virtual private network), then follow the below-listed steps carefully. With these steps, you can install a VPN on your router without any hassle. Without much ado, let’s begin with this ultimate guide to installing a VPN on your router.
- Launch a working internet browser on your computer or mobile device.
- Your device should be connected to your router’s network.
- Enter http://www.routerlogin.net.
- A login window will open.
- Enter the user name and passcode.
- Type user name as admin.
- The password (default) is the password.
- Be aware that the user name and password are case-sensitive.
- The Basic Home screen will appear.
- Select Advanced>>>Advanced Setup>>>VPN service.
- The VPN service page will appear.
- Select the Enable VPN service check box. Click Apply.
- Identify any VPN service settings on this page.
Download & Install Files
- Allow Windows to download the required OpenVPN configuration files.
- Visit the official website of the router to download the OpenVPN client utility.
- In the Windows Installer section, double-click the OpenVPN-install-xxx.exe link.
- Download and install the software on your system by clicking the OpenVPN-install-xxx.exe file.
- Click on next.
- Read the license agreement carefully. Then, click I Agree.
- Leaves the checked boxes selected. Then, click next.
- Specify the destination folder>>>Click Browse>>>select the destination folder.
- Click on the install option.
- The window will display the progress of the installation and display the final installation page.
- Click on the Finish option.
- Now, unzip the configuration files that you have downloaded.
- Copy those files to a folder where the VPN client has been installed on your device.
- By default, the VPN client is installed at C:\Programfiles\OpenVPN\config\ (For a client device running 64-bit Windows)
- Modify the VPN interface name for client devices with Windows,
Change Settings
- Go to the Networks page on your system.
- For Windows 10, select Start >>> Settings >>> Network & Internet >>> Ethernet.
- For Windows 7, select Start >>> Control Panel >>> View network status and tasks.
- Select Change adapter settings.
- You need to locate local area connection with the device name TAP-Windows Adapter in the list.
- Select the local area connection. Change its name.
- The VPN tunnel connection will fail if the VPN name is not changed.
When you have installed a VPN on your router, it’s time for a test. You can test your connection to see if it works. If it works there is nothing you need to do. However, if any issue manifests, connect with experts to find a proficient solution.
On the Final Note
When it comes to protecting all devices and data from breaches, intrusion, and other threats, installing a VPN on your device pays off. You must install a VPN on your router to protect all the devices under your network. You can do it with the above-listed steps. However, if you find any trouble installing a VPN on your router, connect with experts by dialing 800-742-9005 or email at support@techsupportexpert.com.